A core feature of Research Package is to create and collect informed consent from users participating in a research study. This entails providing a set of information pages (called “consent sections”) to the user, and in the end present the consent form to the user and collect a signature.
Consent Sections
A RPConsentDocument consists of a series of RPConsentSection – one for each topic the user has to review the information about. ResearchPackage supports the following list of predefined sections types with corresponding images and animations, plus a “Custom” option to build you own:
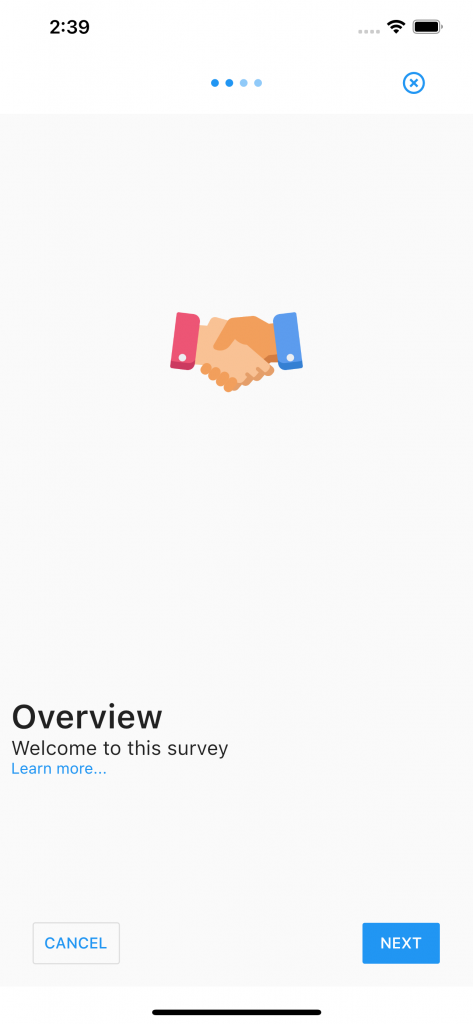
- Overview
- DataUse
- TimeCommitment
- StudySurvey
- Withdrawing
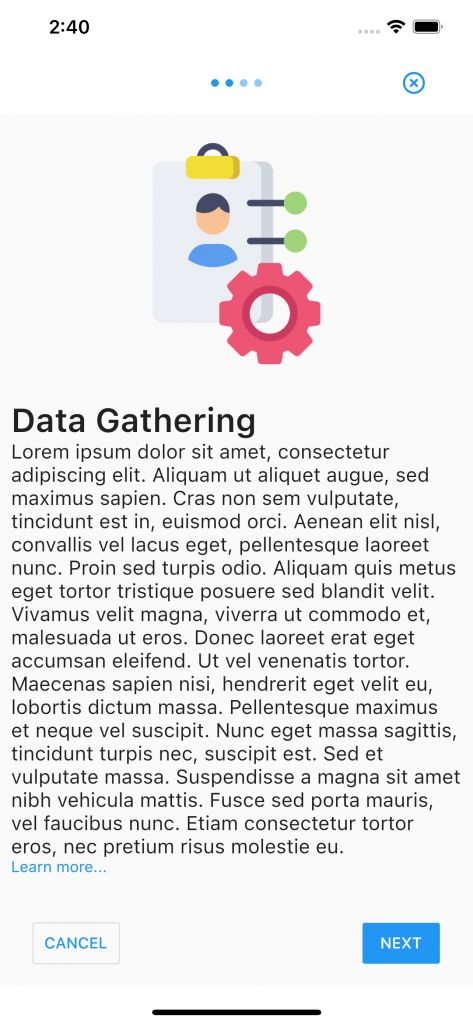
- DataGathering
- Privacy
- StudyTasks
- Welcome
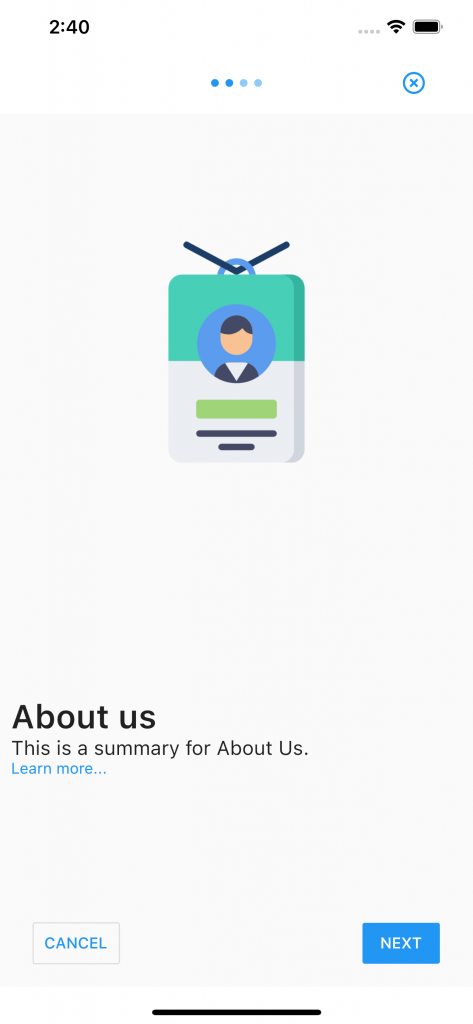
- AboutUs
- Goals
- Benefits
- DataHandling
- Duration
- YourRights
- Custom
- Location
- Health
- UserDataCollection*
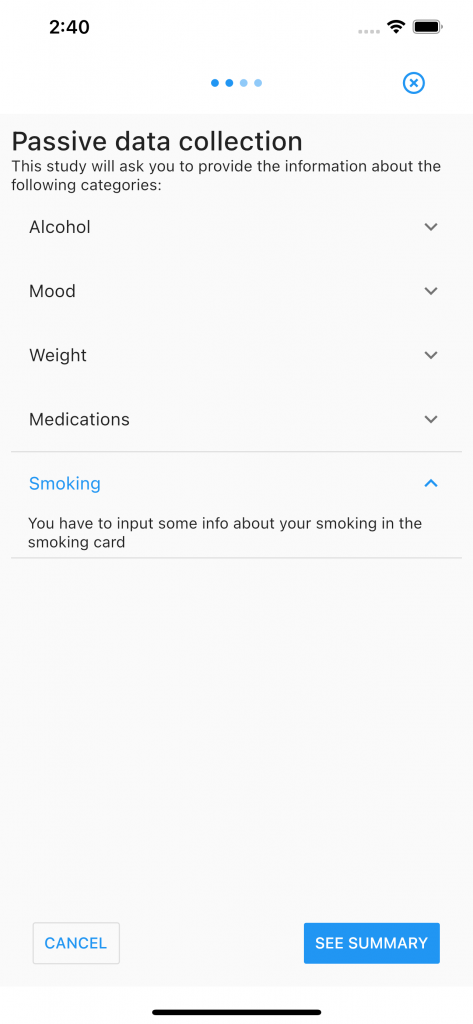
- PassiveDataCollection*
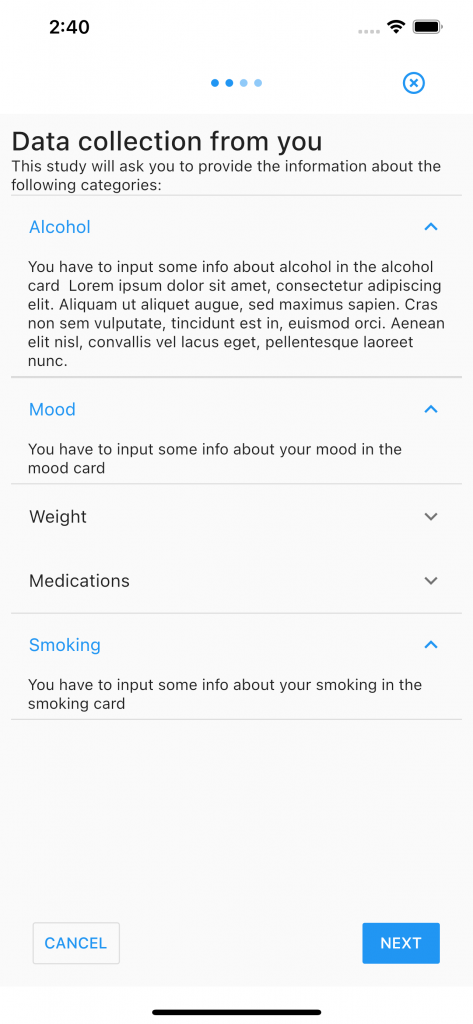
*The UserDataCollection and PassiveDataCollection present a list of items – regarding data collection – where each item contains an explanation of why it is being collected.
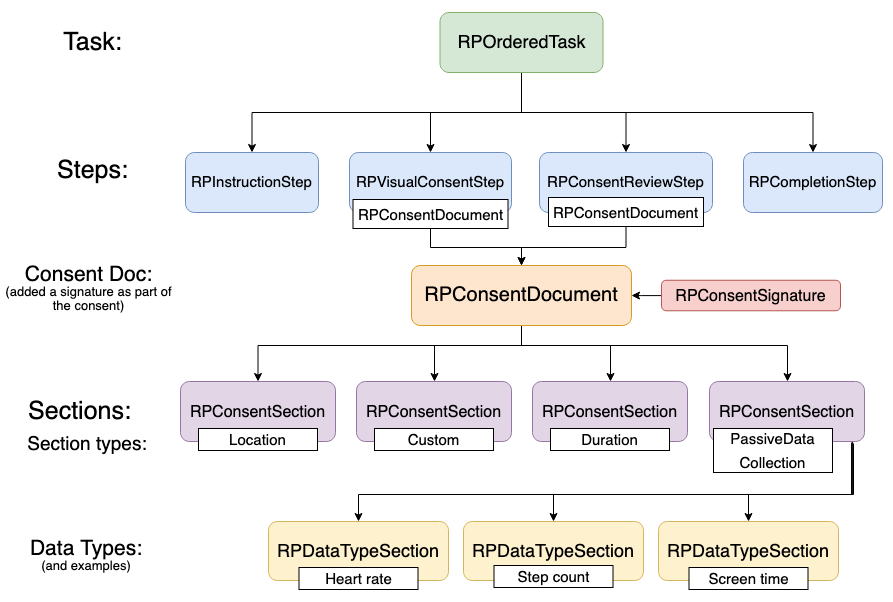
Consent Task
An example of how the structure of a Task with an informed consent can be seen below.
To create a section just instantiate RPConsentSection with a type and then specify the summary (short text under the title) and the content which can be accessed after tapping on the “Learn more” button). The content attribute is core information to be shown to the user.
In the end of the consent flow, the user has to agree to what is stated in each section’s content field.
RPConsentSection locationSection = RPConsentSection(
    type: RPConsentSectionType.Location,
    summary: "This is a summary for Location.",
    content: "Location content text...");
The data collection sections are created a little differently. Below is an example of how a PassiveDataCollection is created. It has a list of data types with RPDataTypeSection objects. Those contain the title and the reasoning behind their collection.
RPConsentSection passiveDataCollection = RPConsentSection(
    type: RPConsentSectionType.PassiveDataCollection,
    summary:
        "This study will passively collect data about the following categories:",
    dataTypes: [
      RPDataTypeSection(
          dataName: "Steps",
          dataInformation: "Your daily step counts as collected by the phone."),
      RPDataTypeSection(
          dataName: "Activity",
          dataInformation:
              "Your different types of activities as detected by the phone"),
      RPDataTypeSection(
          dataName: "Location",
          dataInformation: "Your location as you move around"),
      RPDataTypeSection(
          dataName: "Noise",
          dataInformation:
              "Background noise as detected by the phone's microphone"),
    ]);
A consent document in ResearchPackage is represented by RPConsentDocument. Create one by specifying the title and the previously created sections. An example is shown below:
RPConsentDocument myConsentDocument = RPConsentDocument(
  title: 'Informed Consent',
  sections: [
    overviewSection,
    dataGatheringSection,
    privacySection,
    passiveDataCollection
  ],
);
Collecting a Consent Signature
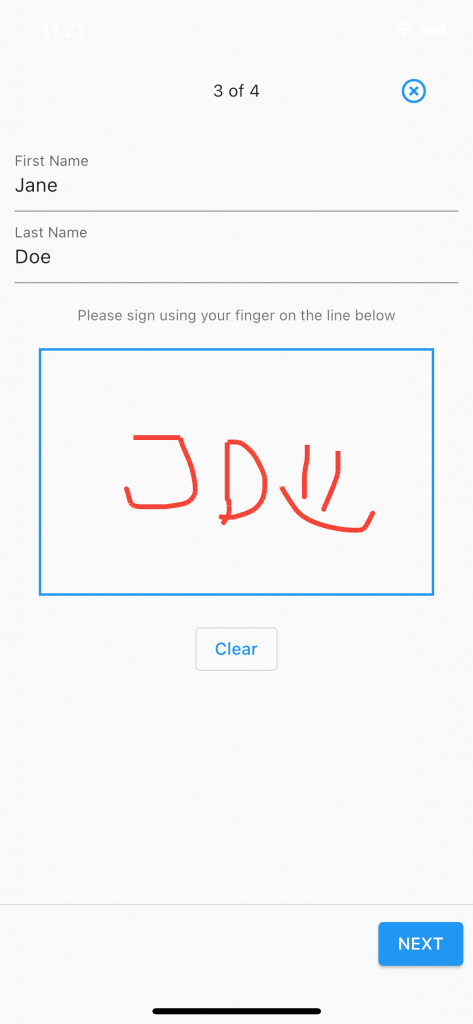
An important part of obtaining the consent document is collecting the signature from the study participant. ResearchPackage comes with a built-in support for this. First, you have to specify the signature you want to collect by creating a RPConsentSignature object with a unique id. The default one collects the user’s full name and an image of the user’s signature. Then this the signature must be added to the consent document, as shown below:
RPConsentSignature signature =
    RPConsentSignature(identifier: "consentSignatureID");
// Attach it to the document
myConsentDocument.addSignature(signature);
Creating the Consent Task
As described in the API tutorial and earlier in this one, ResearchPackage uses a task as its core organizational unit. A RPOrderedTask is a sequence of steps where the sequence can not be changed. To create a consent task you need two steps:
– RPVisualConsentStep, which is responsible to guide the user through the different content sections in the consent document
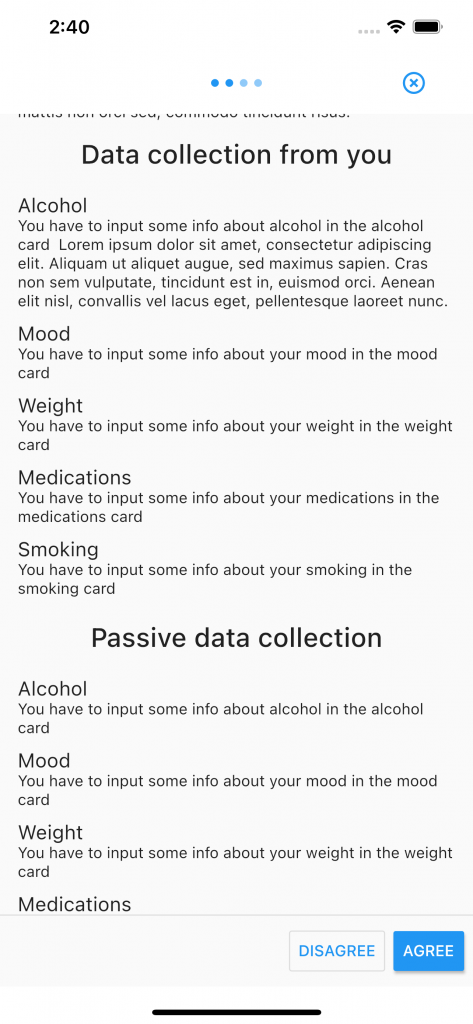
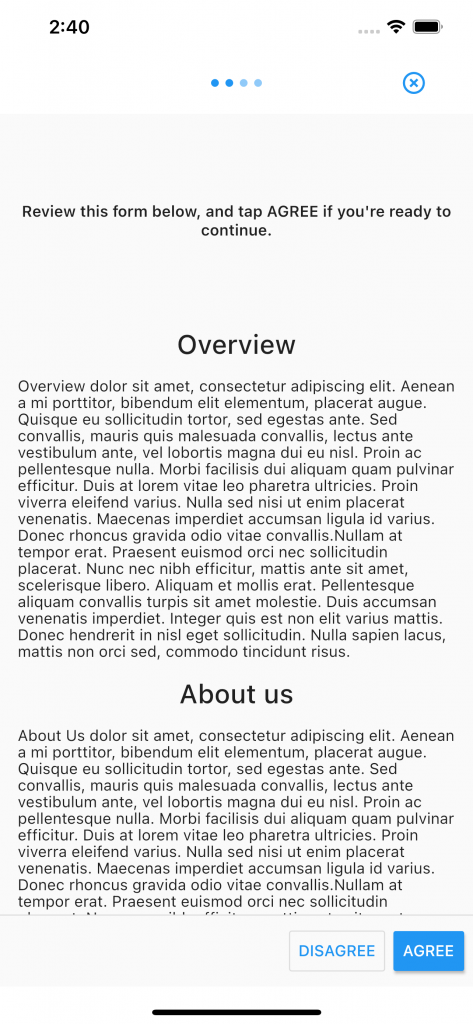
– RPConsentReviewStep, which is responsible to present the whole consent document to the user for review and then collect the signature. An example of how these two steps are created is shown below:
RPVisualConsentStep consentVisualStep = RPVisualConsentStep(
identifier: "visualStepID", consentDocument: myConsentDocument);
RPConsentReviewStep consentReviewStep = RPConsentReviewStep(
identifier: "consentReviewStepID",
consentDocument: myConsentDocument,
reasonForConsent: "By tapping AGREE you can take part in the study",
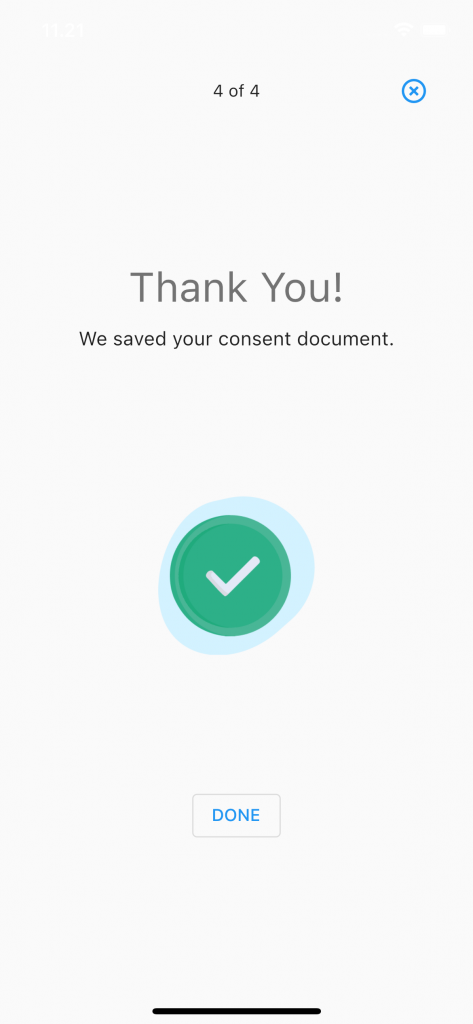
text: "AGREE?");Optionally, you can also add a completion step in which you thank the user for joining the study or communicate some other information. This is done by creating a RPCompletionStep.
RPCompletionStep completionStep = RPCompletionStep(
    identifier: "completionID",
    title: "Thank You!",
    text: "We saved your consent document");
Now that you have all the needed steps, these can be combined into an overall task for obtaining the consent. This is done by creating a RPOrderedTask with a unique string identifier and the list of the previously defined steps.
RPOrderedTask consentTask = RPOrderedTask(
  identifier: "consentTaskID",
  steps: [
    instructionStep,
    consentVisualStep,
    consentReviewStep,
    completionStep
  ],
);
Presenting the Task
The next step is to present the consent task. This is done using the UI library of ResearchPackage. The RPUITask class will automatically present the task based on each step objects in the task. It also gives you the possibility to gather the results which is the signature in this case. This widget returns a full screen Scaffold widget. Therefore the recommended usage is to create a route which returns an RPUITask and then navigate to this route. The minimum example is the following:
class ConsentDocumentTaskRoute extends StatelessWidget {
    @override
    Widget build(BuildContext context) {
        return RPUITask(
            task: consentTask,
            onSubmit: () {
               // Collecting results, see next section
            }
        );
    }
}
Collecting results
Getting the result from a task is done by passing a callback function to the RPUITask widget’s onSubmit parameter. The onSubmit event is triggered when the user finishes the last step in the the list of steps in the task. You should create a function which takes an input parameter with the RPTaskResult class. An example could be the following:
void resultCallback(RPTaskResult result) {
    // Do whatever you want with the result
    // In this case we are just printing the result's keys
    print(result.results.keys);
}
When this function is defined, you just pass it to the task widget when constructed. This changes the our example above to the following:
@override
Widget build(BuildContext context) {
    return RPUITask(
        task: task,
        onSubmit: resultCallback,
    );
}
Examples of the consent flow
Below is a series of screen shots of how the default informed consent section and signature step looks like.